Save Time and Enhance Quality with Cinematic LUTs in Video Editing
As a filmmaker, it's easy to get overwhelmed. Producing high-quality videos each week takes a lot of work. Managing my YouTube channel and creating content for brands like Craft Sportswear can be a lot of work. Also, I must create social media versions of the videos. So, I want to save time without sacrificing quality. It's a top priority.
I’ve been on location in Chamonix, France, filming some incredible footage. But with all this new content, I knew I’d return home to an editing backlog that could take days, if not weeks, to process. After a long day filming in the mountains, you want to relax. The last thing you want to do is spend hours color-grading every clip to get a perfect cinematic look.
In a perfect world, every shot would be perfect right out of the camera. But even in a place as stunning as Chamonix, that’s not always the case. Every video needs a touch to make it cinematic. It's due to uneven lighting, tricky exposures, or just too much footage.
The Power of LUTs in Video Editing: Enhance Your Cinematic Color Grading
One tool that can speed up post-production and color grading is LUTs (Look-Up Tables). They can help maintain a professional quality. LUTs are key to color grading. They let you quickly apply a specific look to your footage. Whether you want a cinematic color grade or a consistent look across your shots, LUTs can help. They can make your life much easier.
But what exactly are LUTs, and why should you use them? A LUT is a formula. It applies a specific color change to your footage. Think of it like a filter on steroids. LUTs do more than add a color layer. They adjust your image's data. This makes the final product both appealing and consistent across shots. This consistency is key to achieving a professional, cinematic look. Viewers expect this from high-quality videos.
I usually rely on DaVinci Resolve for my color grading. It's a powerful tool, and I’ve been using it for over a decade. However, when Wondershare asked me to try their post-production tool, Filmora 13, I wasn't sure what to expect. Years ago, I tried Filmora. I saw potential, but it wasn't quite there yet. But this time, I was genuinely surprised by how much it has improved.
How to Use LUTs in Filmora for Quick and Easy Cinematic Color Grading
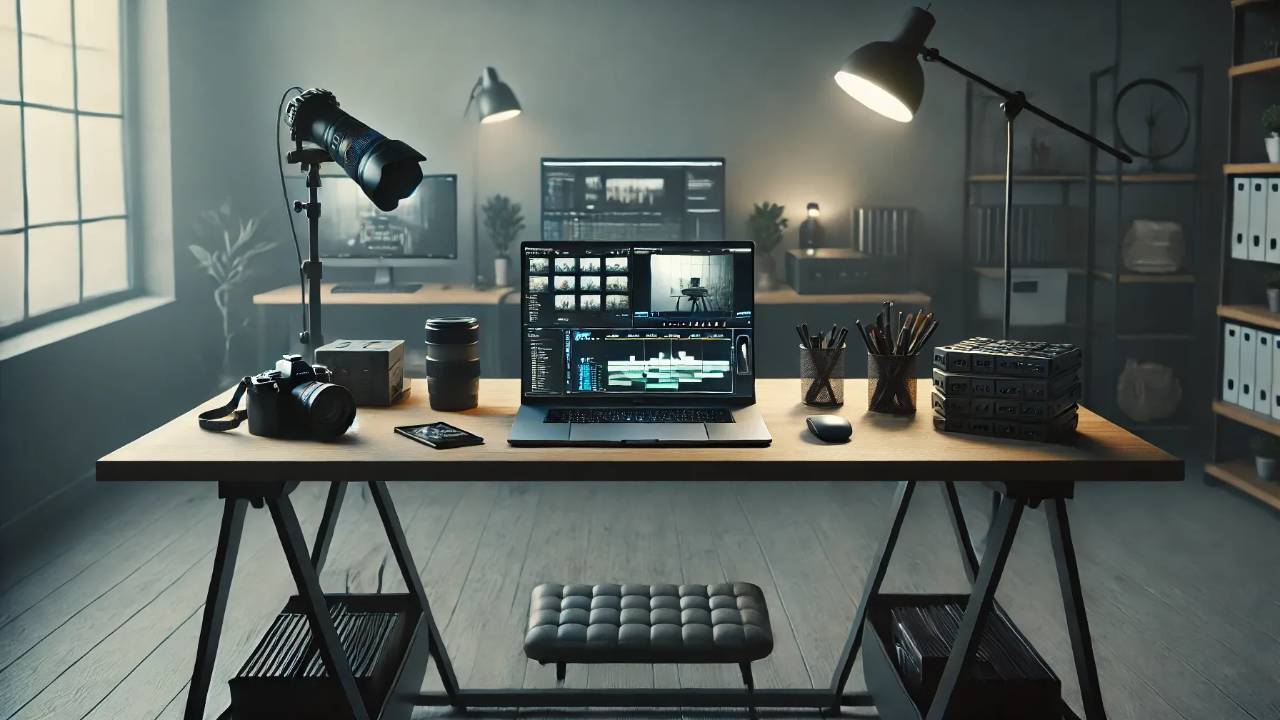
One of the standout features in Filmora is its cinematic LUTs. If you’re a filmmaker who needs to turn around edits quickly, this feature is a great. Applying a LUT in Filmora is as simple as dragging and dropping. The best part is, you can tweak the LUT to fit your style. This means you can maintain a professional look without spending hours on each clip.
For those new to color grading with LUTs, the process is very simple. First, you need to import your footage into Filmora. Once your clips are in the timeline, you can access the LUT library or as they call it the "effects"-tab. Filmora comes preloaded with a variety of cinematic LUTs that you can apply with just one click. Whether you’re going for a warm, nostalgic feel or a cool, modern vibe, there’s a LUT for every style.
But here's where Filmora shines: after you apply a LUT, you can fine-tune the settings to match your vision. Adjust the intensity, tweak the contrast, or play with the saturation until the look is just right. This level of customization is crucial for filmmakers who want to add a personal touch to their work. After you find the perfect settings, save your custom LUT. It will make your unique style just a click away for future projects.
For the best results, first balance all your shots. They should be consistent in color and exposure. This step, called primary color correction, adjusts your footage. It fixes the white balance, shadows, highlights, and exposure. Once that’s done, you can apply the LUT to ensure a seamless look across your entire video. In Filmora, you can save your favorite LUT settings for future projects. That's another huge time-saver.
The Importance of Consistency in Cinematic Color Grading
Consistency is the key to professional-looking videos. Balanced shots and a uniform LUT will make your video feel cohesive. This will draw in viewers. It’s the difference between a video that feels polished and one that seems disjointed. In a single scene, lighting can change. This is especially true for outdoor shoots, like the ones I did in Chamonix. Use LUTs and keep things consistent. This way, the variations won't distract from your story.
Another benefit of using LUTs in your color grading is that they can match your video's look to other content. For example, if you're making videos for a brand, using the same LUT on all of them will create a consistent look. This is key for brands that want a recognizable style. It helps reinforce their branding across different platforms. But pay attention to the white and black points. As well as contrast and color tint. If those are off from shot to shot, the video will feel inconsistent.
There is one downside, though, for people like me who shoot on pro cameras like the BlackMagic Pocket 4K. If you shoot in BRAW, Blackmagic's own raw format, Filmora 13 doesn't support it. So far, though, I've found it supports all my .mov files.
Beyond LUTs: AI-Powered Tools to Boost Your Cinematic Editing Workflow
Filmora isn’t just about LUTs, though. The software also boasts some impressive AI tools that can speed up your workflow. The text-to-speech and editing features are very handy. They're great if you're working on multiple projects at once. These tools let you edit based on the spoken words in your video. You won't have to search the timeline manually. It’s a modern approach to editing that I wish more programs would adopt.
The text-to-speech tool is great for making tutorial or educational videos. Instead of hours of recording your voiceover, just type your script. Filmora will create a natural-sounding voiceover for you. This can save a lot of time. It's vital for content creators who must make videos regularly.
Another standout feature is the AI-powered motion tracking. This tool lets you track moving objects in your video. It applies effects or text that follow the motion seamlessly. Motion tracking can add a professional touch to your edits. It requires minimal effort. Use it to highlight a product in a commercial or add dynamic text to a vlog.
Before trying Filmora, I used Descript to edit interviews. I then imported those edits into DaVinci Resolve. While this process works, it’s cumbersome and time-consuming. Filmora’s AI-driven features streamline this process, allowing for a more efficient workflow. But there's a downside, they don't have XML or other export of formats. So a round-tripping feature with tools like Resolve would be a game-changer for many editors.
While releasing this video and review of Filmora, I noticed Davinci Resolve had updated its text editing capabilites. It's not as simple or quick as Descript's, but there's improvement. It's slow, yet progress is being made.
Filmora LUTs vs. CapCut: A Look at Cinematic Editing Video Tips
Recently, there’s been a buzz around CapCut. It's an AI-powered editing tool. It offers effects for captions, access to stock footage, and more. However, after using Filmora, I found it offers many of the same features. In some cases, it does them even better. For example, Filmora’s interface is easy to use. It's a great choice for both beginners and experts. If you've used CapCut you will feel at home.
CapCut is popular for its ease of use, especially among mobile users. However, Filmora offers a more robust set of tools for those looking to take their editing to the next level. Filmora's cinematic LUTs are more advanced. They allow for greater customization and better integration into your editing process. CapCut is great for quick edits and social media. But, Filmora has the tools for complex projects. It's a better choice for professional filmmakers.
How to Create LUTs and Use Filmora LUTs for High-Quality Videos
I still rely on DaVinci Resolve for most projects. But, Filmora is a valuable addition to my toolkit. It's a versatile tool. It can do simple edits and complex projects. It will save you valuable time. Filmora's LUTs and AI tools can help you. They make high-quality videos without burnout. This is true for both seasoned filmmakers and beginners.
If you're new to color grading and want to create your own LUTs, Filmora makes it easy to experiment. You can create a unique look by adjusting color settings. These include contrast, saturation, and hue. They will match your creative vision. Once you're happy with the result, save your settings as a custom LUT. You can apply it to future projects with one click.
If you want to spend more time capturing footage, try Filmora. It's great for that. After your edits, you can export your video. It will look as good as something that took twice as long to make.
Download Filmora 13 and Experience Color Grading with LUTs on Your Desktop or Mobile
If you create content for YouTube, clients, or personal projects, use LUTs in Filmora. They can save you a lot of editing time. It's vital to quickly apply a consistent, cinematic color grade to all your footage. This is especially true when you're on a tight deadline. With Filmora 13, you get cinematic LUTs and AI tools. They simplify editing and let you focus on your story.
Moreover, Filmora’s AI tools offer innovative solutions that go beyond traditional editing. Its ease of use and time-saving features make it a strong rival to more established editors. For beginners in color grading, Filmora LUTs are a great tool. They enhance your videos without complex settings.
You can download Filmora 13 on Desktop here and on Mobile here. Then, explore these features for yourself. Whether you're editing on the go or at your desk, Filmora 13 has you covered. Its tools make editing faster and more enjoyable.
Final Thoughts: Elevate Your Videos with Cinematic LUTs and AI Tools
In the end, filmmaking is all about storytelling. The tools you use should help you tell your story more effectively, not slow you down. Filmora combines advanced features with a user-friendly design. It's a great choice for filmmakers who want to work smarter, not harder.
Filmora's LUTs and AI features can help. They make your videos look polished and professional. You can skip the hassle of traditional editing, whether you're a pro or new to editing. If you use another program like DaVinci Resolve, try Filmora. It has unique tools that can save you time and improve your editing.
Color grading with LUTs doesn't have to be hard. Filmora's easy interface makes it accessible for everyone. Filmora's LUTs can help with your vlogs, short films, or ads. They can give your footage a pro look without needing color grading skills.
So if you’re looking for a way to keep the quality high while speeding up your workflow, give Filmora a try. And don’t forget to experiment with the LUTs—you might just find that perfect look for your next project.
In the fast-changing world of video editing, you need cutting-edge tools. Filmora 13 provides an edge. It combines cinematic LUTs, AI features, and an intuitive UI. It lets you be creative and efficient at the same time. That's every filmmaker's dream.
Please watch the YouTube video for more hands-on experience. And head over to YouTube to comment with your thoughts on Filmora. Also, share any tips to make editing easier. Now, if you'll excuse me, I must enjoy this beautiful Chamonix landscape—before I get back to editing, of course!

Master Documentary Storytelling!
Get my Hero’s Journey Cheat Sheet for free and learn how to create compelling narratives for your documentaries.

Want to improve your storytelling skills?
Join my 7-Day Storytelling Challenge for free!


